|
Welcome to my animated glitter text tutorial. I wrote this tutorial
using PSP 7.04 but can be
done in other versions with a few adjustments.
Here
is my zipped file for the
goldfills & sparkle and
gradient I made. Download and unzip the
files. Put the gradient into your PSP gradient folder.
My silverfill zip
=) Sparkly Gold zip.....and
Sparkly Purple zip =)
And, as
requested by Eagle, the Opal fills are here.
1. Open new image 100 X 100
2. Flood fill with gradient color or solid
color. For this tutorial I used md-gold gradient that I had in my PSP
Gradient folder.
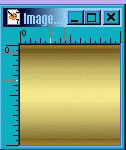
3. Duplicate this image twice
more by pressing SHIFT-D twice.


4. Click on your first image.
5. Click on Effects/Noise/Add and
use these settings: Noise 50; random checked.
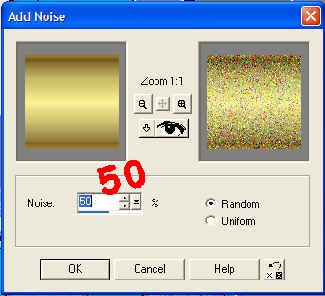
6. Add
*sparkles* using the mdh-sparkle-white tube or
any other sparkle tube to compliment your color choice. I used 45 percent
on the first image tile. Save this tile as goldfill1.psp
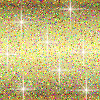
7. Click on your second tile
image.
8. Click on Effects/Noise/Add and
use these settings: Noise 35, random checked.
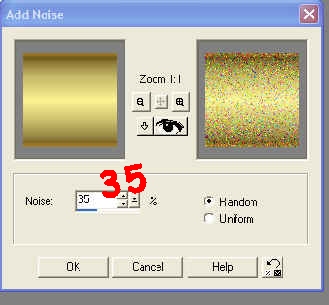
9. Add
*sparkles* using the mdh-sparkle-white tube or any other sparkle tube to compliment your color choice. I used 40
percent on the first image tile. Save this tile as goldfill2.psp
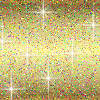
10. Click on your 3rd image tile.
11. Click on Effects/Noise/Add
and use these settings: Noise 25, random checked off
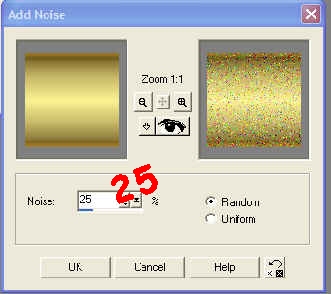
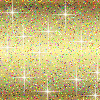
12. Add
*sparkles* using the mdh-sparkle-white tube from the zip file above, or any other sparkle tube to compliment your color choice. I used 30
percent on the first image tile. Save this tile as goldfill3.psp
13. We are now ready to make our
text. Open a new image large enough to fit your text. I used 400 x 200;
Transparent, 7200 pixels, 16.7 million colors.
Next, click on Text tool-- add
text. I used a fairly large font called Elephant. I had both background and
foreground set to white, Font size-36, Bold and Center-checked,
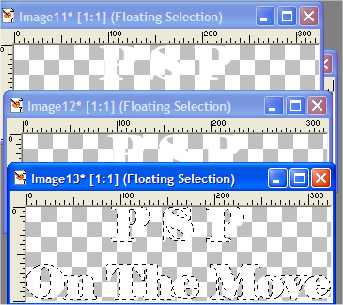
Anti-alias-checked, floating-checked. and then cropped my image. Once I've
gotten that done I duplicated my text twice more leaving the text selected
so you have the marching ants around it. You should have something like
this

14. Flood
fill your first text image with your goldfill1 pattern you just created (if
you have decided to use a background you can also add a drop shadow to your
text) merge all visible and save as text1.psp; click on second text image
flood fill with your goldfill2 pattern; merge all visible and save as
text2.psp; click on your third text image and flood fill with your goldfill3
pattern; merge all visible and save as text3.psp. You are now
ready to take this all into your Animation Shop. (If you want to save this
with a transparent background do not add a drop shadow as this seems to have
a negative effect in transparent gif format.)

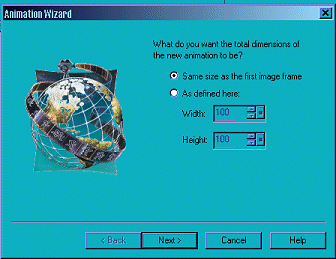
15. Click on Animation Wizard The
wizard pretty much walks you thru but I've included each step to help you.
Click on same size as the first image. Click on next.
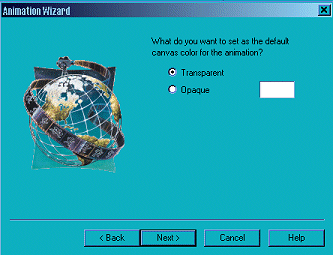
16. Check transparent. I have my
color set to white. Click on next.
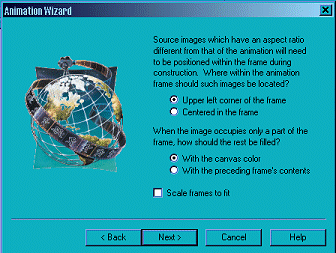
17. Check upper left corner;
Check canvas color. Click on next.
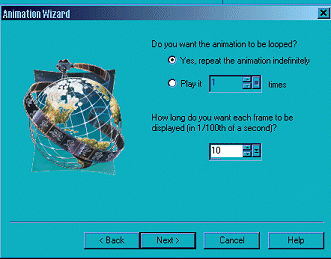
18. Make sure you have the repeat
checked and I have my frame set for 10. Click on next.
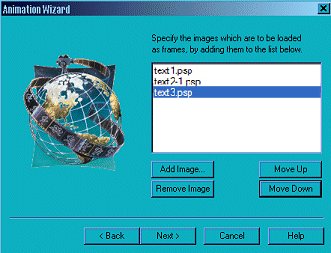
19. Add your images text1.psp;
text2.psp; text3.psp. You can use the move up or move down to put you images
in the proper order. Click on next.
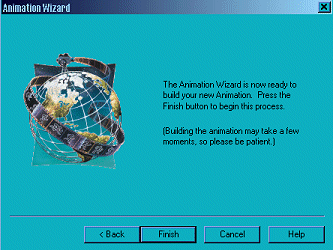
20. Click on finish.
21. Go to file/save the wizard
will then optimize your image. The results of my tutorial are on the top of
this page =)
I hope you enjoyed this
tutorial and that it was easy to follow. If you have any questions please
feel free to
email me with them or
send any comments that will help me to make this better for others. I am
sorry if it takes too long to load for those on dialup. I wanted to include
lots of graphics to make it easier to follow.
 |