HOME
| Artwork... As used in the
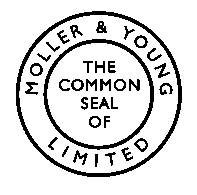
Moller & Young Sample - 35mm Let us design your seal to suit your requirements.  |
Vinyl Seals - Moller & Young Vinyl Seals are
made from a high quality mouldable vinyl and supplied with contact adhesive on the back. Sizes available in stock... SEA50 (50mm round) SEA68x39 (oval) SEA70 (70mm round) SEA70x45 (oval)190mm |
 |
| Dies... A matching ‘Male & Female’ set of dies as used in the Moller & Young Sample and fitted into the SPS small press. |  |
| SPL Large Press
Die Size: 45mm Leverage: 60:1 We recommend using this press when fine detail is required in the ‘Seal’ or the paper/vinyl used is thicker or harder than standard copier paper. It may also be used for any seal where a heavier machine is preferred. |
 |
|

SPM Medium Press Die Size: 38mm Seal Size: Maximum 25mm Leverage: 16:1 |

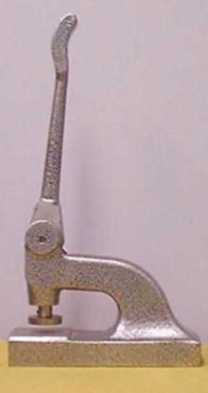
SPS Small Press Die size: 43mm Seal Size: Maximum 35mm Leverage: 13:1 We recommend using this press when the equivalent of standard 80gsm copier paper and Moller & Young vinyl seals are used and the embossing required is simple and bold as with the Moller & Young sample shown. |
|
| Directions for Embossing - Moller & Young
Vinyl Seals are supplied with contact adhesive on the back
1. If using the optional vinyl seals, peel the backing off the vinyl seal and press it carefully onto the document. 2. If the paper is moistened with a wet sponge on the back of the document within the vinyl seal area only, at this stage, this will improve the embossing making it more permanent and require less pressure. 3. The imprint of the seal is then made combining the two together. For best effect, Press and hold for a few seconds to give the embossing time to set. Use a firm grip but do not overload the press. If the embossing is not good enough, check the following. We recommend returning the press immediately if there is any problem as the cause is not always obvious to the user and further use can make it worse. 1. Paper too thick or too hard. 2. Damaged dies. 3. Dies not damaged but loose in press. Re-alignment may be all that is required. 4. Press guides worn |